This comprehensive guide explores how to become a UGC creator on Roblox during the current year focusing on the major shift from an invite only system to a public marketplace for all users. We dive deep into the technical requirements like mastering 3D modeling in Blender and the essential account prerequisites such as having a verified ID and an active Roblox Premium subscription. The guide also covers the financial aspects including the cost of uploading items and the potential for earning Robux through the Avatar Shop ecosystem. You will learn about the importance of the Roblox Creator Dashboard and how to navigate the complex world of virtual fashion and accessories while staying compliant with the latest platform policies and community standards for 2024 and beyond. This is the ultimate resource for aspiring digital artists.
Roblox Most Asked Questions about how to become a ugc creator on roblox
This ultimate living FAQ is updated for the latest 2024 patches to ensure you have the most accurate information. Whether you are a beginner just starting with 3D modeling or an expert looking to optimize your sales this guide covers every technical and financial hurdle you will face on your journey. We focus on real world solutions to help you get your items into the shop and start earning Robux today.
Beginner Questions
What is the first step to becoming a UGC creator?
The first step is verifying your identity with Roblox using a government issued ID and having an active Premium subscription. This unlocks the ability to upload 3D meshes once you have met the account age requirements. You should also start learning Blender to create your items. Tip: Make sure your ID photo is clear to avoid rejection.
Do I need to pay Robux to upload items?
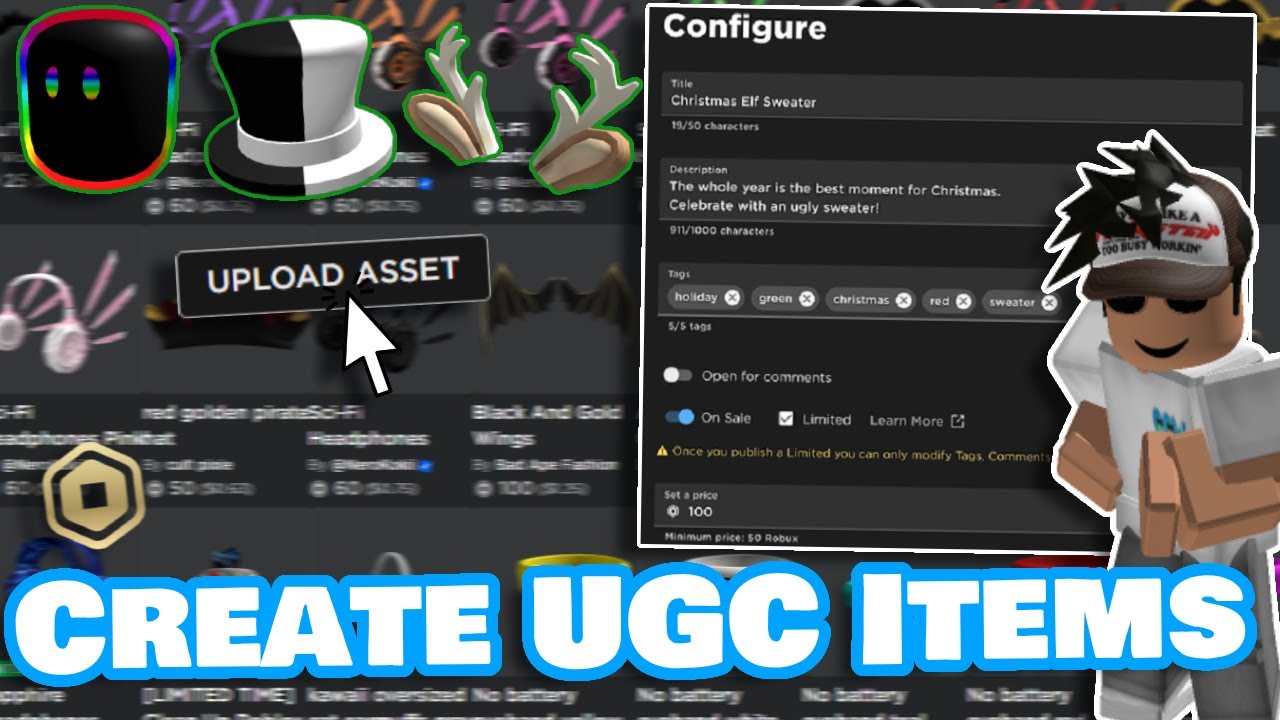
Yes there is an initial upload fee and a publishing fee for every accessory you put in the shop. These fees act as a barrier to prevent spam and ensure that creators are serious about their work. The costs can be recovered quickly if your item becomes popular. Trick: Test your items in a free experience first to ensure they look perfect.
Builds and Classes
Which 3D software is best for Roblox UGC?
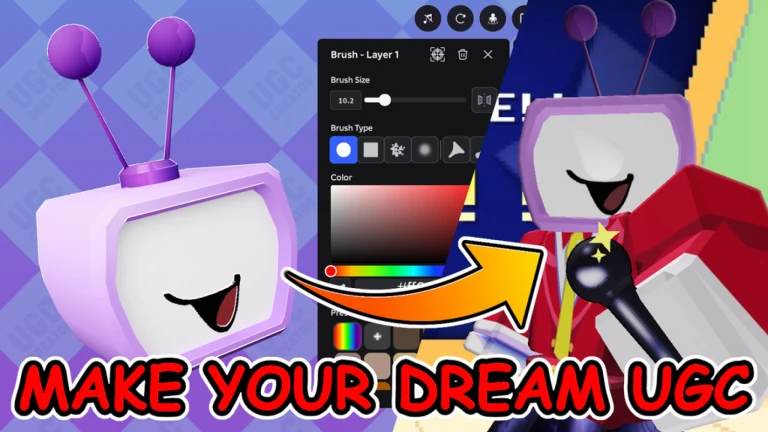
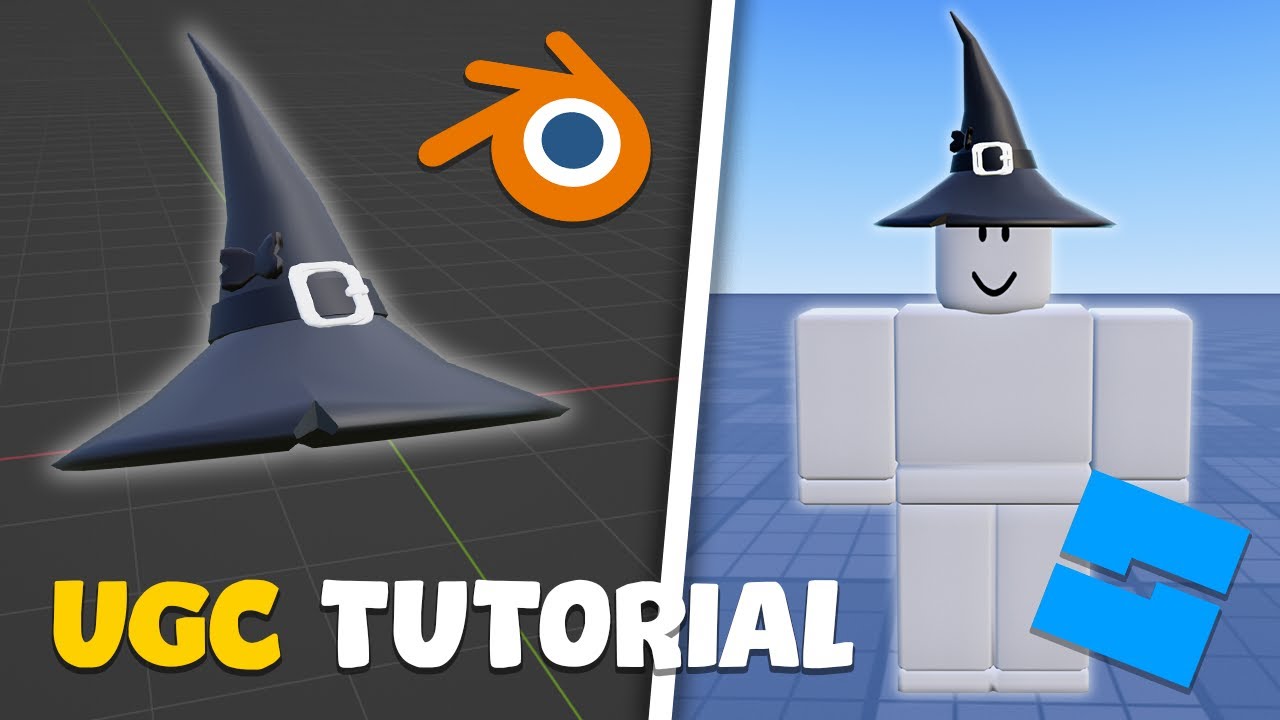
Blender is the industry standard for Roblox creators because it is free and has a massive community of tutorial makers. It allows you to create the low poly meshes required for the platform while providing advanced texturing tools. You can also use Substance Painter for professional textures if you have the budget. Tip: Use the Roblox accessory plugin in Blender for scale.
How do I make sure my item fits all characters?
You must use the official Roblox character rigs as a template when designing your accessories in Blender. This ensures that a hat sits correctly on the head and wings attach properly to the back. Always test your item on various body types like R6 and R15 in Studio. Trick: Use the Accessory Fitting Tool in Roblox Studio for easy alignment.
Endgame and Marketing
How can I make my UGC items go viral?
Marketing on TikTok and X is essential for reaching the Roblox community outside of the platform itself. Create short videos showing the creation process or how the item looks on popular avatar styles. Engaging with your followers and taking requests can also build a loyal customer base. Tip: Use trending sounds and hashtags related to Roblox fashion.
What is the revenue split for UGC items?
When you sell an item in the Avatar Shop you receive 30 percent of the total sale price while Roblox takes a larger cut for hosting. If your item is sold within a specific game the game owner also gets a small commission. This structure helps sustain the platform infrastructure for everyone. Trick: Sell items through your own game to get an extra commission percentage.
Bugs and Technical Fixes
Why does my mesh look inside out in Roblox?
This is usually caused by inverted normals in your 3D software which tells the engine to render the inside of the shape. You can fix this in Blender by selecting your mesh and hitting Shift plus N to recalculate the outside. Always check for backface culling before you export your final file. Tip: Use the Orientation overlay in Blender to see face directions.
How do I fix the mesh is too large error?
Roblox has a strict limit on the physical dimensions and the file size of your 3D models. If your mesh is too large you need to scale it down in Blender and apply the transformation before exporting. Ensure your polygon count is within the limits set for that specific item category. Trick: Use the Decimate modifier to lower poly counts quickly.
Becoming a UGC creator on Roblox is an incredible way to express your creativity while earning a real income through digital art. By mastering tools like Blender and staying consistent with your uploads you can build a massive brand within the metaverse. It is a journey that requires patience but the rewards of seeing thousands of players wearing your designs are unmatched. Start small learn the rules and never stop improving your craft. Still have questions? Check out the official Roblox Developer Forum for more in depth guides and community support. You can also find great tutorials on YouTube from creators like SharkBlox or Model Creator to help you visualize the process step by step. 😊
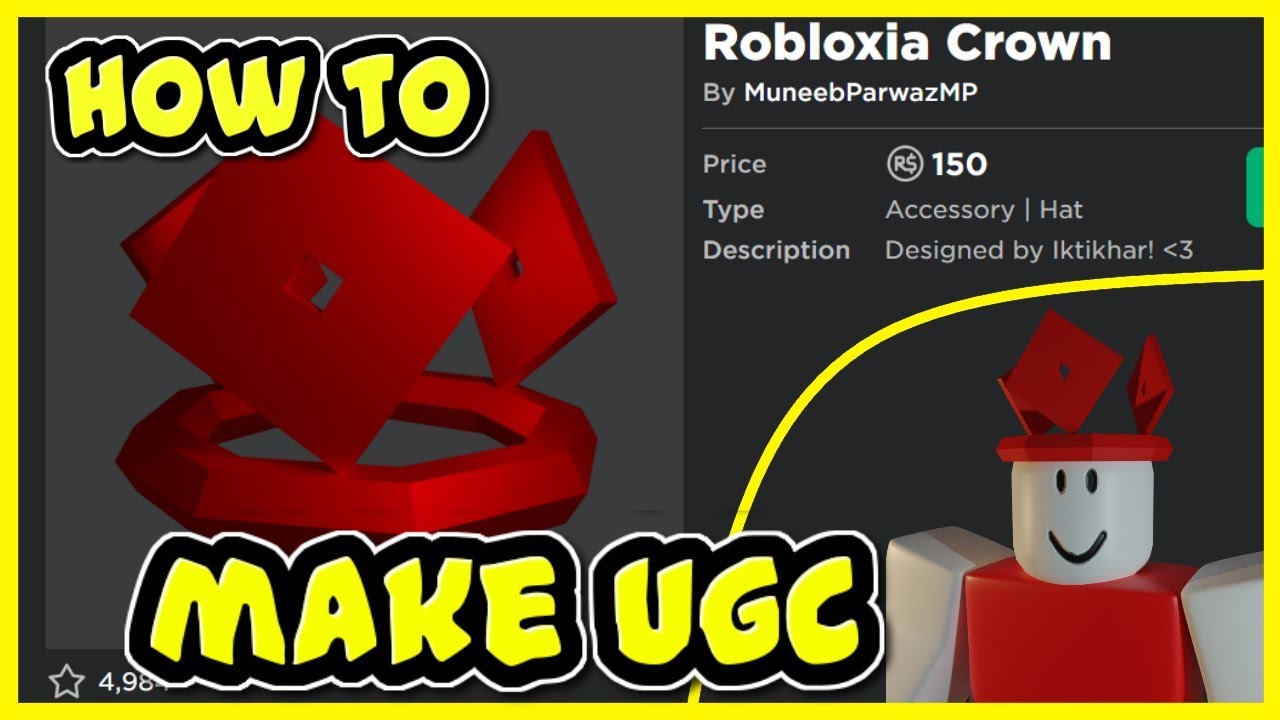
How can I finally start selling my own custom hats and accessories on the Roblox Avatar Shop today? This is the question that thousands of aspiring digital artists ask as they look at the massive success of current creators. The Roblox User Generated Content program has recently undergone a massive transformation that allows almost anyone to participate if they meet specific criteria. This guide will walk you through the entire process from opening your first 3D software to seeing your items in the marketplace.Getting Started with the Basics of UGC
The very first thing you need to realize is that the gates are now wide open for everyone globally. You no longer have to wait for a mysterious invite to join the elite club of accessory creators on the platform. However you must ensure your account is in good standing and that you have a verified identification card on file. Roblox uses this verification process to maintain a safe environment and to ensure that all creators are real people. You also need an active Roblox Premium 1000 or 2200 subscription to be eligible for uploading your custom 3D items. Once these hurdles are cleared you are officially ready to begin your journey into the world of virtual fashion design.Mastering the Essential Tools of the Trade
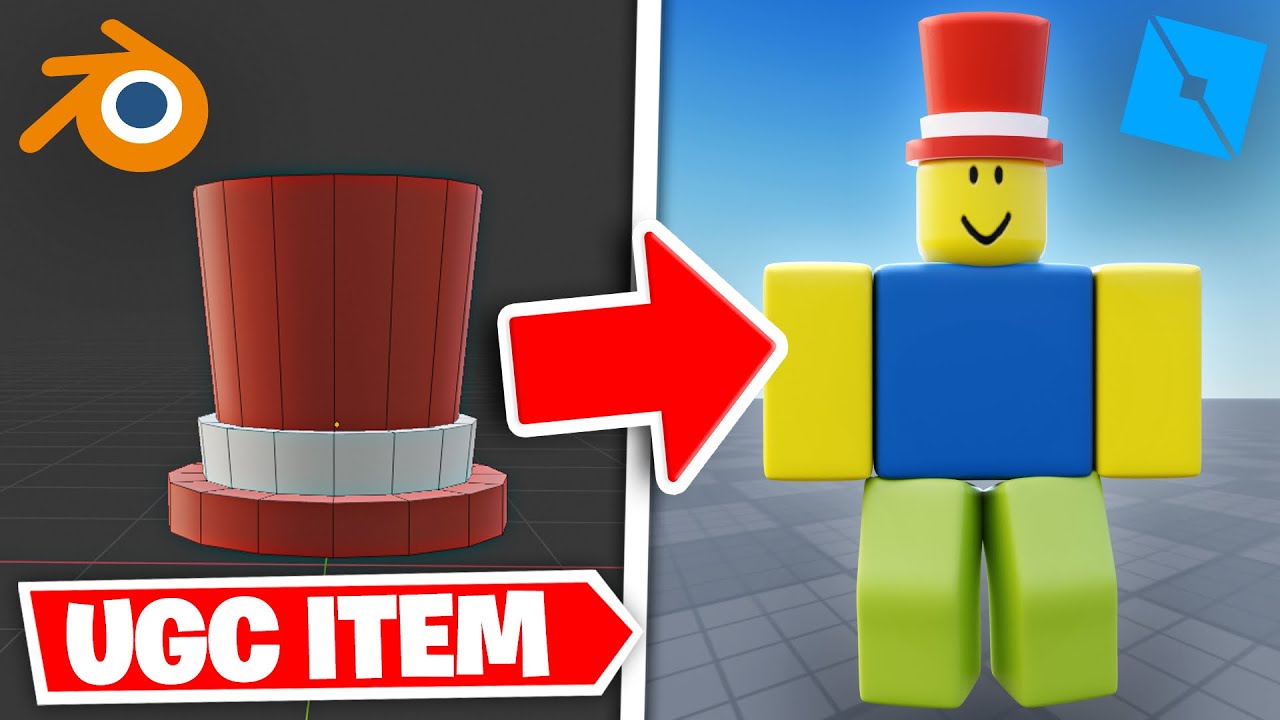
Most successful creators use a free and powerful 3D modeling software called Blender to build their unique virtual items. Blender allows you to create complex shapes that can eventually become hats or wings or even full body suits. You should spend several weeks practicing how to manipulate vertices and edges to create clean and efficient 3D models. It is vital to keep your polygon count low so that the items do not lag the game servers. Roblox has strict limits on the size and complexity of items to ensure they work on mobile and consoles. After your model is finished you will need to learn how to apply textures and colors to your mesh. This process is called UV mapping and it determines how your 2D artwork wraps around your 3D model geometry.Uploading Your Creations to the Marketplace
Once your masterpiece is ready in Blender you must export it as an FBX or OBJ file for Roblox. You will then use the Roblox Studio application to import your file and set up the specific accessory nodes. The Creator Dashboard is your primary hub for managing all of your uploads and tracking your daily Robux sales. Each item you upload requires a small fee in Robux to cover the initial publishing costs on the platform. You must also pass a moderation check where Roblox staff or AI systems ensure your item follows all rules. If your item contains copyrighted logos or inappropriate shapes it will be rejected and your account could be warned. Understanding the marketplace fees is also crucial because Roblox takes a cut of every sale made in the shop.Beginner Concepts
1. **Q:** How do I actually join the UGC program? **A:** I get why this feels confusing because it used to be invite only but now it is open to everyone. You just need to verify your ID in the settings and have a high tier Premium subscription active. Once you have those you can go to the Creator Dashboard and start uploading your 3D meshes immediately. It is a much simpler process than it was just a year ago for new artists. Try setting up your ID today so you are ready to go. You’ve got this! 2. **Q:** Do I really need to learn Blender to make items? **A:** This one used to trip me up too but the short answer is absolutely yes for 3D accessories. While you can make clothes with 2D drawings for items like hats or wings you need a 3D mesh. Blender is the industry standard and it is completely free to download and use for your creative projects. It has a steep learning curve but there are thousands of tutorials available for beginners online right now. Just take it one step at a time and you will see progress fast. You’ve got this! 3. **Q:** Can I make items on my phone or tablet? **A:** I totally understand wanting to work on the go but unfortunately you really need a computer for this. Blender and Roblox Studio are professional tools that require the processing power and interface of a desktop or laptop. You can sketch your ideas on a tablet but the actual 3D construction must happen on a PC. It is better to have a mouse with a scroll wheel to navigate the 3D space effectively anyway. Give it a shot on your computer and see the difference it makes. You’ve got this! 4. **Q:** How much Robux does it cost to upload an item? **A:** This is a great question because you need to budget your currency before you start your big projects. Currently there is an upload fee for every item and a publishing fee to put it in the shop. These fees can vary based on the item type but usually range from 750 to several thousand Robux. It is an investment in your brand so make sure your design is perfect before you hit submit. Start with one item to learn the process without spending too much at once. You’ve got this!Intermediate Production
5. **Q:** What is the 10 to 10 rule I keep hearing about? **A:** I know this sounds like a math problem but it is actually a safety and quality requirement. Roblox requires that you have had your Premium subscription for a certain period and have made specific sales. It basically ensures that you are an active part of the community before you get full marketplace access. This prevents people from making burner accounts just to spam the shop with low quality or stolen items. Check your dashboard to see your current status and progress toward these requirements daily. You’ve got this! 6. **Q:** How do I fix the backface culling issues in my mesh? **A:** This happens to the best of us when we first start working with 3D normals in Blender. If your item looks invisible from certain angles it means your faces are pointing the wrong way inward. You can easily fix this by selecting all faces in Blender and using the Recalculate Normals command. Always check your model with the Backface Culling option turned on in the viewport to catch these errors. It saves you so much time and frustration during the actual upload process in Studio. You’ve got this! 7. **Q:** Can I create limited items to sell for higher prices? **A:** Yes you can and this is where the real money can be made if you are clever. Limiteds allow you to set a specific quantity of items that will ever exist for that design. Once they sell out they can be resold by players and you get a percentage of every resale. It requires a much higher upfront fee to publish a limited item so be very careful. Make sure you have a following or a very trendy design before committing to a limited run. You’ve got this! 8. **Q:** Why was my item rejected by the moderation team? **A:** It is super frustrating to get a rejection but usually it is because of a tiny technicality. Roblox is very strict about copyright so even a small logo that looks like a real brand can trigger a ban. Also ensure your mesh does not have any hidden geometry that could be considered inappropriate by the automated filters. Read the community standards one more time and compare your item to successful designs currently in the shop. Most rejections are just learning opportunities to make your next item even better than before. You’ve got this! 9. **Q:** How do I make my items stand out in a crowded shop? **A:** I get that the market feels saturated but unique themes and high quality textures always win. Instead of making another generic crown try focusing on a specific aesthetic like cottagecore or futuristic cyberpunk. Use social media like TikTok or X to show behind the scenes clips of you making the items. Building a personal brand around your art style will make people want to buy from you specifically. Engagement is the key to turning a casual viewer into a loyal customer for years. You’ve got this! 10. **Q:** What are the best dimensions for an accessory texture? **A:** This is a technical detail that many people overlook until their item looks blurry in the game. You should use a 256 by 256 pixel square for your textures to ensure they remain sharp. While you can use larger files Roblox will often compress them which can lead to unexpected visual artifacts. Keeping it at the recommended size ensures your item looks exactly how you intended it to look. Always test your texture in various lighting conditions within a Roblox Studio baseplate before you publish. You’ve got this!Advanced Frontier
11. **Q:** How can I optimize my meshes for the best performance? **A:** I used to struggle with high poly counts but learning the Decimate modifier in Blender changed everything. You want to aim for the lowest vertex count possible while still maintaining the silhouette of your item. Use sharp edges and smooth shading to give the illusion of detail without adding unnecessary geometry to the mesh. This helps players on low end devices enjoy your items without experiencing any significant frame rate drops. Professional optimization is what separates the top tier creators from the hobbyists in the marketplace. You’ve got this! 12. **Q:** Is it possible to use vertex painting for colors? **A:** This is a brilliant way to save on texture memory and create some really cool stylized effects. Roblox supports vertex colors which allows you to bake lighting and color directly into the mesh points themselves. This can make your items look much more vibrant and can even allow for color changing effects in some cases. It is a more advanced technique but it is well worth learning if you want a signature look. Experiment with a simple model first to see how the colors translate into the Roblox engine. You’ve got this! 13. **Q:** How do I handle collaboration with other creators? **A:** Working with others is the best way to grow your reach but you need to be smart about it. Make sure you have a clear agreement on who owns the assets and how the Robux will be split. You can use Group payouts to automatically distribute earnings to multiple people which makes the process very transparent. Collaborating on a themed collection is a great way to cross promote to each other’s fanbases effectively. Communication is always the most important part of any successful creative partnership in this space. You’ve got this! 14. **Q:** What is the future of Dynamic Heads and bodies? **A:** We are entering a new era where items can move and emote which is incredibly exciting for creators. Dynamic heads allow for facial expressions which means your hats and accessories need to be rigged correctly. This requires learning about weight painting and bones which is a step up from static 3D modeling. If you can master this now you will be ahead of the curve as Roblox pushes for more realism. Keep an eye on the official developer forum for the latest documentation on these new features. You’ve got this! 15. **Q:** Can I run a full time business as a UGC creator? **A:** I know it sounds like a dream but many people are actually doing this right now. It takes a lot of discipline to treat it like a job and you need to stay consistent. You have to balance creating new items with marketing and managing your community and sales data. Diversify your designs so that you have a steady stream of income regardless of what is currently trending. It is a marathon and not a sprint so pace yourself and keep learning every day. You’ve got this!Quick Human Friendly Cheat Sheet for This Topic
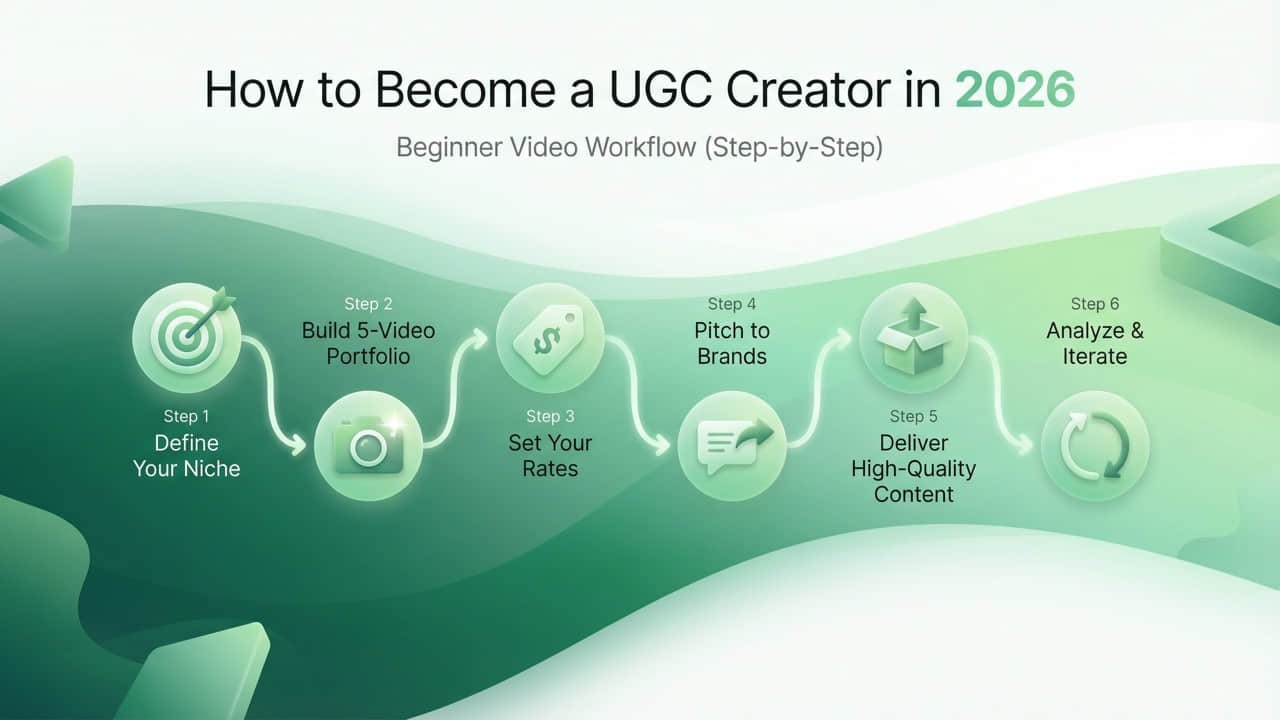
- Download Blender and start with simple tutorials for making 3D hats. - Get your real world ID ready for the verification process in your settings. - Ensure you have a high level Premium membership active for at least a month. - Practice keeping your polygon counts below 4000 for the best game performance. - Use social media to show off your designs and build a community of fans. - Always double check your normals and UV maps before exporting from Blender. - Stay patient because building a successful brand takes time and constant effort.Mastering Blender 3D modeling for meshes. Meeting ID verification and Premium requirements. Understanding the Roblox 10 to 10 upload rule. Navigating the Creator Dashboard for item management. Implementing effective marketing strategies on social media. Learning optimization techniques for low polygon counts. Staying updated on marketplace fees and revenue shares.
35


2025 How To Become A Roblox UGC Creator YouTube . How To Become A UGC CREATOR Roblox Roblox Ugc Creator Tutorial YouTube . How To Be A UGC Creator In Roblox 2025 YouTube . UGC Creator Play On Roblox NoFilter. How To Become A UGC Creator In Roblox BEST WAY YouTube


How To Become A UGC Creator In Roblox QUICK YouTube . How To Join The UGC Program In Roblox 2025 Step By Step YouTube . How To Upload UGC Item To Roblox 2026 Tutorial YouTube . UGC Creator Play On Roblox NoFilter. How To Make UGC Items In Roblox FULL PROCESS YouTube


How To Create And Launch UGCs On Roblox YouTube . HOW TO MAKE OWN UGC ITEMS ON ROBLOX UPLOAD SELL IT YouTube . How To Make A Roblox UGC Item For Beginners YouTube . Ugc Application Roblox User Generated Content LootLocker The Game . How To Sell UGC On Roblox Complete Creator Guide 2025 Image


How To Become A UGC Creator In 2026 Step By Step Guide VIDEOAI ME Blog How To Become Ugc Creator 2026 Og . How To Become A Roblox UGC Creator COMPLETE GUIDE YouTube . How To Be A Ugc Creator In Roblox Mobile YouTube . How To Make UGC Items In Roblox How To Create Upload UGC Items In . How To Become A Successful UGC Creator In 2026 Sideshift Blog 1920x1080


HOW TO MAKE YOUR OWN ROBLOX UGC HAT ROBLOX UGC TUTORIAL YouTube . How To Become A Ugc Content Creator Roblox YouTube . How To Create Ugc Items In Roblox YouTube . What Is A UGC Creator And How To Become One In 2026 What Is A Ugc Creator . How To Become A UGC Creator And Get Paid To Make Content Stan Blog UGC Creator 1536x864

How To Become A UGC Creator In 2026 The Ultimate Guide Influee 2000x900 . How To Become A UGC Creator The Complete Step By Step Alici AI . How To Become UGC Creator India 2026 What Is UGC How To Earn 50k . How To Become A UGC Creator In 2026 A Beginner S Guide Scaled.webp. How To Become A UGC Creator In 2026 Beginner S Guide Black Girl Orange Bold UGC Creator Portfolio


How To Become A UGC Creator Complete 2026 Guide Og Image . How To Become Ugc Creator Roblox 2023 YouTube . How To Sell UGC On Roblox Complete Creator Guide 2025 3750x1962 . How To Make A Roblox UGC Item Beginner Tutorial YouTube . How To Apply For Roblox UGC Program YouTube